サーバ機やネットワーク機器の監視をzabbixで行い、異常があった場合はredmineでインシデント管理を行います。
シリーズは以下になります。
・その0:AzureにCentOS8サーバ
・その1:CentOS8にZabbix5.0
・その2:CentOS8にredmine4.1
・その3:Zabbixとredmineの連携
目次
zabbixサーバ構成
CentOS8 にMySQLサーバーを使うZabbixサーバーを作成します。なお、同時にZabbixエージェントをインストールすることで、Zabbixサーバー自身の状態も監視できるようにします。
主なソフトウェアとそのバージョンは以下になります。
・OS : CentOS 8 (バージョン 8.1.1911)
・Zabbix : Zabbix 5.0.0
・Webサーバー : Apache HTTP Server 2.4.37(httpd)
・PHP : PHP 7.2.11
・DBMS : MySQL 8.0.17
インストールの流れ
インストールは以下の順番で行います。
①Zabbixのインストール
②MySQLのインストールと設定
③サービス設定
zabbixインストール
Zabbixリポジトリ登録
Zabbix LLCが、RHEL 8用のリポジトリを公開しているので、それを登録します。
$#zabbix本体5.0
$ dnf install https://repo.zabbix.com/zabbix/5.0/rhel/8/x86_64/zabbix-release-5.0-1.el8.noarch.rpm

#エージェントver1
$ dnf install https://repo.zabbix.com/zabbix/5.0/rhel/8/x86_64/zabbix-agent-5.0.0-1.el8.x86_64.rpm

#エージェントver2
$ dnf install https://repo.zabbix.com/zabbix/5.0/rhel/8/x86_64/zabbix-agent2-5.0.0-1.el8.x86_64.rpm
新しいバージョンがリリースされている場合もありますので、公式のダウンロードサイトやリポジトリのディレクトリ<https://repo.zabbix.com/zabbix/>を確認して、より新しいバージョンのパッケージを使用してください。
Zabbixインストール
Zabbixサーバー本体をインストールします。
$#zabbix本体
$ dnf install zabbix-server-mysql
自分を監視するためのZabbixエージェントをインストールします。
#エージェントver1の場合
$ dnf install zabbix-agent

#エージェントver2の場合
$ dnf install zabbix-agent2
Webインターフェースのインストール
WebサーバーとしてApache HTTP Server(httpd)を使用します。
$#DBMSにMySQLを使用
$ dnf install zabbix-web-mysql

$#WebサーバーとしてApache HTTP Server(httpd)を使用
$ dnf install zabbix-apache-conf

$#日本語フォントを使用
$ dnf install zabbix-web-japanese
Zabbixのパッケージで日本語フォントを使用するには、「/etc/php-fpm.d/zabbix.conf」ファイルのtimezoneの設定を有効にしてタイムゾーンをAsia/Tokyoに設定します。
$ nano /etc/php-fpm.d/zabbix.conf

#修正前
; php_value[date.timezone] = Europe/Riga

#修正後
php_value[date.timezone] = Asia/Tokyo
データベースとの接続
データベースとの接続パスワードを設定します。「/etc/zabbix/zabbix_server.conf」ファイルにパスワードを記述します。
なお、このパスワードは下記の「データベース初期設定」と合わせるようにします。
$ nano /etc/zabbix/zabbix_server.conf

#修正前
# Mandatory: no
# Default:
# DBPassword=

#修正後
# Mandatory: no
# Default:
DBPassword=Zabbix-12345
MySQLインストール
MySQLサーバーインストール
CentOS 8から標準となったMySQLのサーバのパッケージ(mysql-server)を使用します。
$ dnf install mysql-server
MySQLセキュリティ設定
セキュリティ設定を行います。
$#サービス起動
$ systemctl start mysqld

$#セキュリティ設定
$ mysql_secure_installation
「secure_installation」では、 いくつか質問があります。必要な設定を行ってください。
まずは、ユーザroot のパスワード設定をします。
Connecting to MySQL using a blank password.

VALIDATE PASSWORD COMPONENT can be used to test passwords
and improve security. It checks the strength of password
and allows the users to set only those passwords which are
secure enough. Would you like to setup VALIDATE PASSWORD component?
Press y|Y for Yes, any other key for No: Y

There are three levels of password validation policy:
LOW    Length >= 8
MEDIUM Length >= 8, numeric, mixed case, and special characters
STRONG Length >= 8, numeric, mixed case, special characters and dictionary
Please set the password for root here.

New password:
Re-enter new password:
ユーザanonymousを削除します。
Estimated strength of the password: 100
Do you wish to continue with the password provided?(Press y|Y for Yes, any other key for No) : Y
By default, a MySQL installation has an anonymous user,
allowing anyone to log into MySQL without having to have
a user account created for them. This is intended only for
testing, and to make the installation go a bit smoother.
You should remove them before moving into a production
environment.

Remove anonymous users? (Press y|Y for Yes, any other key for No) : Y
Success.
ユーザrootのログインを禁止します。
Normally, root should only be allowed to connect from
'localhost'. This ensures that someone cannot guess at
the root password from the network.

Disallow root login remotely? (Press y|Y for Yes, any other key for No) : Y
Success.
既定でできるtestデータベースを削除します。
By default, MySQL comes with a database named 'test' that
anyone can access. This is also intended only for testing,
and should be removed before moving into a production
environment.

Remove test database and access to it? (Press y|Y for Yes, any other key for No) : Y
- Dropping test database...
Success.

- Removing privileges on test database...
Success.

Reloading the privilege tables will ensure that all changes
made so far will take effect immediately.
Reload privilege tables now? (Press y|Y for Yes, any other key for No) : Y
Success.

All done!
MySQL設定
MySQL設定を行います。「/etc/my.cnf.d/mysql-server.cnf」ファイルに追記します。
$ nano /etc/my.cnf.d/mysql-server.cnf

[mysqld]
datadir=/var/lib/mysql
socket=/var/lib/mysql/mysql.sock
log-error=/var/log/mysql/mysqld.log
pid-file=/run/mysqld/mysqld.pid
#以下を追加
character-set-server = utf8
collation-server     = utf8_bin
skip-character-set-client-handshake
innodb_file_per_table
MySQLサービス設定
設定を追加したら、データベースサービスの起動と自動起動の設定を行います。
#データベース再起動
$ systemctl restart mysqld

#自動起動の設定
$ systemctl enable mysqld
データベース初期設定
DBMS上にデータベースとそれにアクセスするためのユーザを作成します。
ここでは、以下のように作成します。
・ユーザ:zabbix
・パスワード:Zabbix-12345
$ mysql -uroot -p
mysql> create database zabbix character set utf8 collate utf8_bin;
mysql> create user 'zabbix'@'localhost' identified with mysql_native_password by 'Zabbix-12345';
mysql> grant all privileges on zabbix.* to 'zabbix'@'localhost';
mysql> exit
データベースのテーブル作成
データベースにテーブルの作成と初期データの投入を行います。
$ zcat /usr/share/doc/zabbix-server-mysql/create.sql.gz | mysql -uzabbix zabbix -p
なお、データベース作成用のファイル(create.sql.gz)のパス名は、バージョンごとに異なる場合がありますので、インストールしたバージョンに合わせてパスを確認して変更してください。
サービス設定
サービスの再起動と自動起動の設定をします。
$#サービス再起動
$ systemctl start zabbix-agent zabbix-server php-fpm httpd

$#自動起動
$ systemctl enable zabbix-agent zabbix-server php-fpm httpd
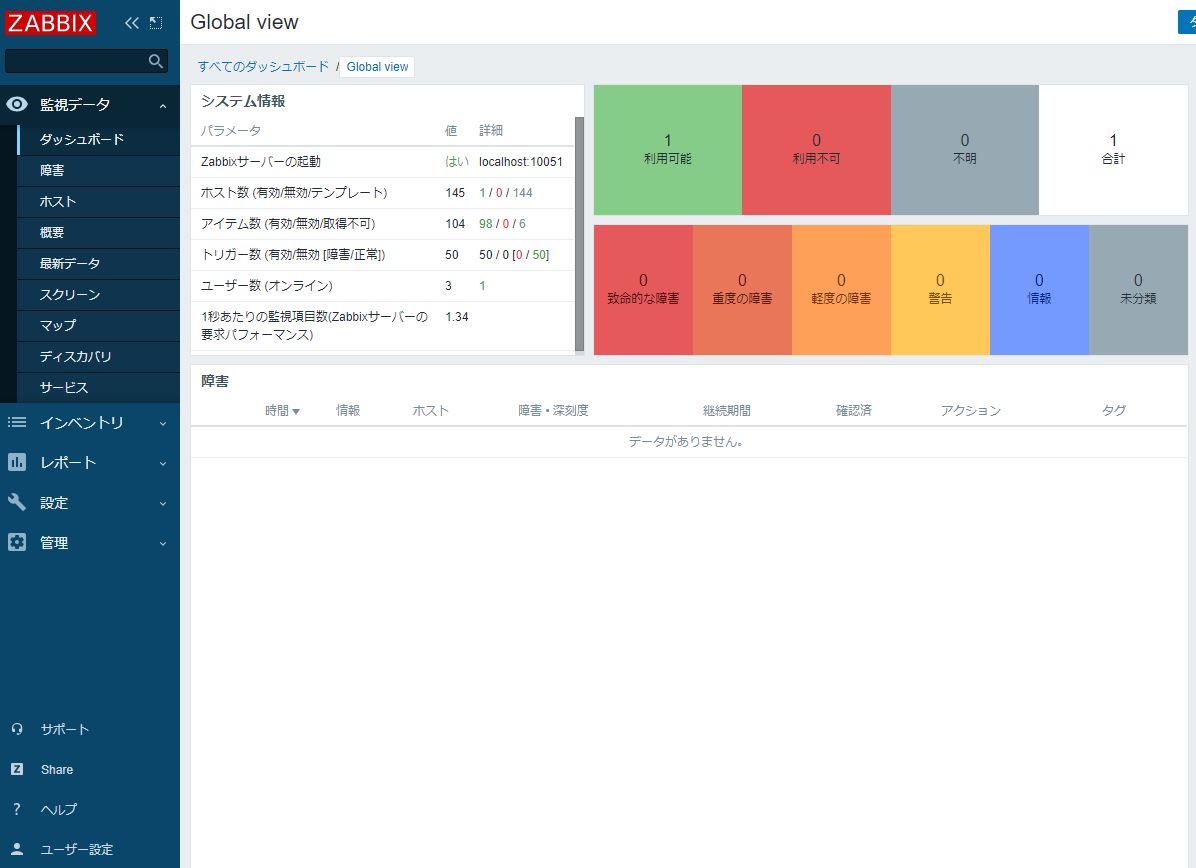
Zabbixへのアクセス
Zabbixサーバへの接続は以下で行います。
http://<ZabbixサーバーのIPアドレス>/zabbix/
次の操作
次回は、「zabbixで監視。redmineで管理。(その2:CentOS8にredmine4.1)」になります。